
REVIEW · WHISTLER TOURS
Whistler to Vancouver by EXECUTIVE Bus (Single trip)
Getting back to Vancouver can be painless. This EXECUTIVE Bus service wins because the luggage hold is built for real gear, including bulky bags and skis, and because it runs frequent trips on this corridor. One thing to plan for, though, is extra fees if you bring more than the included luggage limits, especially extra ski sets or bikes.
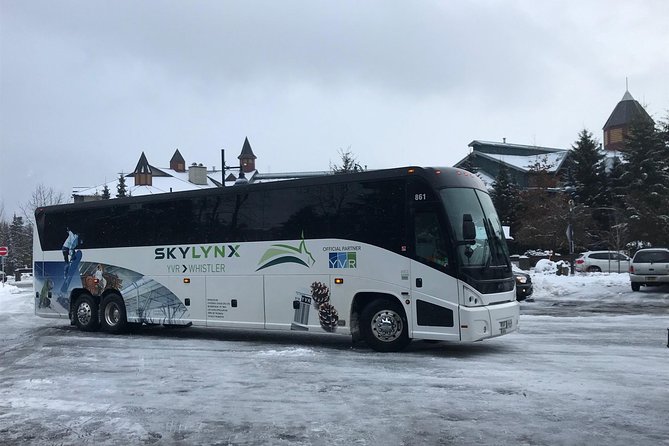
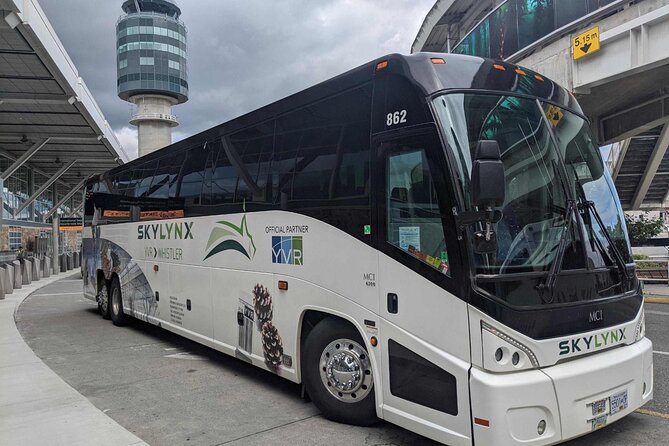
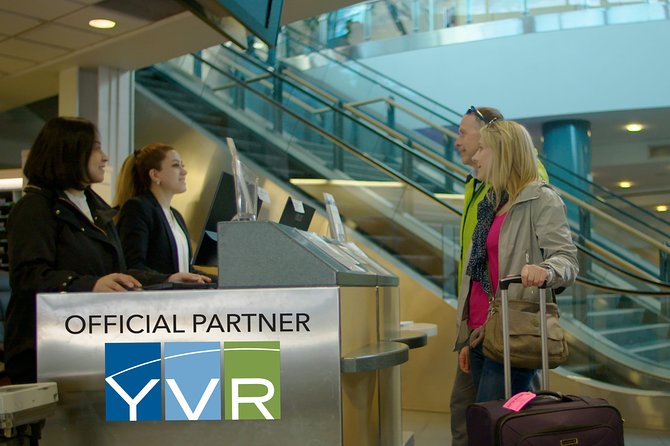
You’ll meet the bus at the YVR Skylynx kiosk at Vancouver International Airport arrivals on Level 2, then connect through the route with a scheduled stop at Squamish. The coaches are modern and air-conditioned, and the whole trip is designed to feel low-stress, even when you’re traveling with winter equipment.
In This Review
- Key Highlights Worth Your Time
- Why This Whistler to Vancouver Bus Works So Well
- Coach Comfort, Luggage Storage, and Ski-Friendly Planning
- Price and Value: What $50.07 Buys You
- The Route Timing and the Squamish Stop You Should Expect
- Where to Meet: YVR Skylynx Kiosk and Squamish Adventure Centre
- Onboard Perks: Restroom, Wi-Fi, and Air-Conditioned Comfort
- Group Size, Booking Timing, and the Practical Feel of the Ride
- Who Should Book This Bus (and Who Might Want a Different Option)
- Should You Book the EXECUTIVE Bus for Whistler to Vancouver?
- FAQ
- How much does the Whistler to Vancouver Executive Bus cost?
- How long is the trip?
- Where do I meet the bus at Vancouver International Airport?
- Where is the stop in Squamish?
- What luggage is included in the fare?
- Are skis or a snowboard allowed?
- Can I bring a bike?
- What amenities are included onboard?
- What is the cancellation policy?
- Is there a limit on group size, and are service animals allowed?
Key Highlights Worth Your Time
- Room for skis and bulky bags in the luggage hold, not just small suitcases
- Frequent Whistler to Vancouver departures, one of the easiest ways to time your day
- Restroom and Wi-Fi onboard, plus air conditioning for comfort
- Simple meeting points: YVR Skylynx kiosk (Level 2) and Squamish Adventure Centre
- Extra-fee gear rules are clear: bikes and additional skis cost more per trip
Why This Whistler to Vancouver Bus Works So Well
If your goal is straightforward transport without drama, this is the kind of ride that makes travel day feel normal. The big reason I like it: you’re not forced to play luggage Tetris. The luggage space is designed to take bulky items, and it’s specifically set up to handle skis, which matters a lot in winter when gear is large and awkward.
The second reason this route feels practical is frequency. On the Whistler to Vancouver corridor, this service offers the most frequent trips compared with other options, so you have more control over when you leave and when you arrive. That can be the difference between relaxing in Vancouver or getting squeezed by the clock.
One consideration: this is a price that’s solid when you travel within the included limits. If you start adding bikes or additional ski sets, you’ll pay extra per trip. It’s not a dealbreaker, just something to budget for before you get on board.
A few more Whistler days to compare
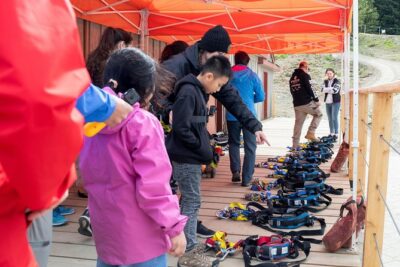
- Zipline Adventure in Whistler
★ 5.0 · 1,367 reviews - Whistler, Sea to Sky Gondola, and Shannon Falls Day Trip
★ 4.8 · 1,134 reviews - Whistler Odyssey Tour: Off-Road Buggy Adventure
★ 5.0 · 750 reviews
Coach Comfort, Luggage Storage, and Ski-Friendly Planning
The coach setup is built for comfort, not just getting from A to B. You’ve got a modern, air-conditioned vehicle and a restroom onboard, so you’re not stuck improvising during a ride that’s about 3 hours (approx.).
But the real win for many people is how luggage is handled. You get allowance for:
- one large piece of luggage
- one hand luggage
That’s especially helpful if you’re coming from Whistler with ski boots, outerwear, and a helmet bag. The luggage hold is roomy, and it’s meant to fit bulkier items without making your whole trip feel like a storage problem.
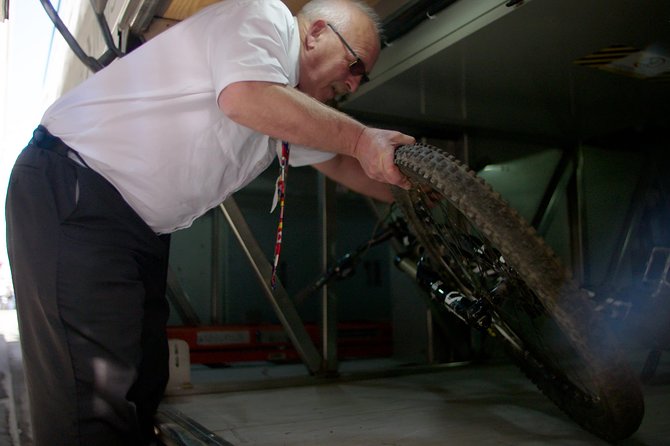
If you’re also bringing a bike, there’s a dedicated process: bikes can be accepted in the luggage hold for an extra fee. The fee is $20 per bike per trip, so it’s worth deciding early if you’ll ride a bike at your destination.
For skiers and snowboarders, the policy is equally straightforward. You’re allowed one set of skis or a snowboard within the included luggage limits. If you need an extra set, it’s $15 for a trip each. That’s a simple rule, and I like that it removes ambiguity. You’ll just be prepared to pay rather than guessing.
Price and Value: What $50.07 Buys You
At $50.07 per person for a one-way ride, this bus can be excellent value because you’re not just paying for a seat. You’re paying for a service that stacks multiple conveniences together:
- restroom on board
- Wi-Fi onboard
- air-conditioned comfort
- professional driver service
Also, the ride is scheduled enough that you can plan your day without panic-checking alternative options. The service is frequently booked (often around 58 days in advance on average), which usually means it’s reliable for people timing travel around flights, check-in windows, or winter activities.
Now, let’s be honest about where value can shift. The base fare is attractive, but extras are real costs:
- bikes cost $20 per bike per trip
- extra ski sets cost $15 each per trip
- excess luggage charges can apply if you go beyond the one large and one hand allowance
So if you’re traveling light and within the standard gear rules, the value is strong. If you’re bringing a bike or multiple ski sets, factor those add-ons in early, so the final total stays predictable.
The Route Timing and the Squamish Stop You Should Expect
This service connects Whistler and Vancouver with a stop at Squamish. The ride time listed is about 3 hours (approx.), which is usually what you want for a single transfer day. The route between Vancouver and Squamish is described as about two hours of travel, giving you a good stretch of highway time where you can sit back and ride.
What does the Squamish stop mean for your planning? It’s a practical reset point. Squamish is not a random stop. It’s placed at:
- Squamish Adventure Centre
- 38551 Loggers Lane
- beside Highway 99
If you’re traveling with winter gear or you just need a clean moment to re-check your belongings, this kind of stop structure helps. It also gives you a realistic expectation for where you are during the trip, so you’re not constantly wondering if you’re on schedule.
One more practical tip: since the bus timing matters, don’t treat your arrival as casual. Arrive at the pickup point 15 minutes early so you can board promptly and avoid that stressful last-minute scramble.
A different day out in Canada:
- Whistler Wilderness Run Snowmobile Tour
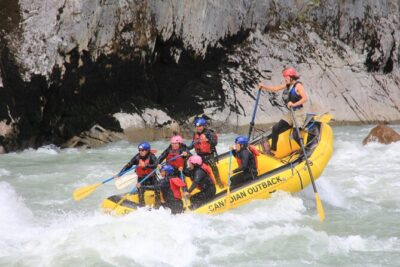
★ 5.0 · 724 reviews - Wet and Wild Elaho Exhilarator Rafting
★ 5.0 · 625 reviews - 2 Hour Wilderness Adventure Snowmobile Tour in Whistler
★ 5.0 · 610 reviews - Superfly Ziplines on Cougar Mountain – includes 4 ziplines!
★ 5.0 · 498 reviews
Where to Meet: YVR Skylynx Kiosk and Squamish Adventure Centre
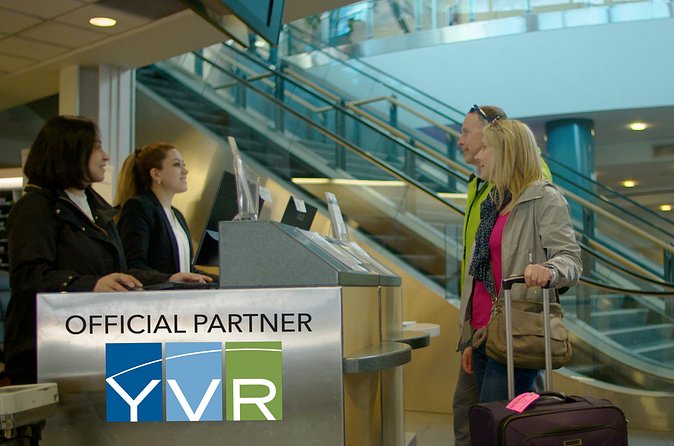
Pickup at Vancouver International Airport is set up to be easy if you know exactly where to look. Your YVR meeting point is:
- Skylynx Kiosk at Vancouver International Airport (Arrivals, Level 2)
That’s specific, and it matters because airports are confusing. Level 2 arrivals is one of those details that saves time when you’re looking for the right booth.
For the Squamish stop, you’ll use the:
- Squamish Adventure Centre
- 38551 Loggers Lane, beside Highway 99
Those are clear meeting points, and you should treat them like your anchors for the day. If you’re flying into YVR and continuing to Whistler, this matters. If you’re doing the opposite direction, it still matters because getting to the right place at the right time is the difference between easy travel and an awkward search.
Also, you’ll have a mobile ticket, which typically means less fuss with printed documents. Still, have your confirmation details handy on your phone in case you need them for boarding.
Onboard Perks: Restroom, Wi-Fi, and Air-Conditioned Comfort
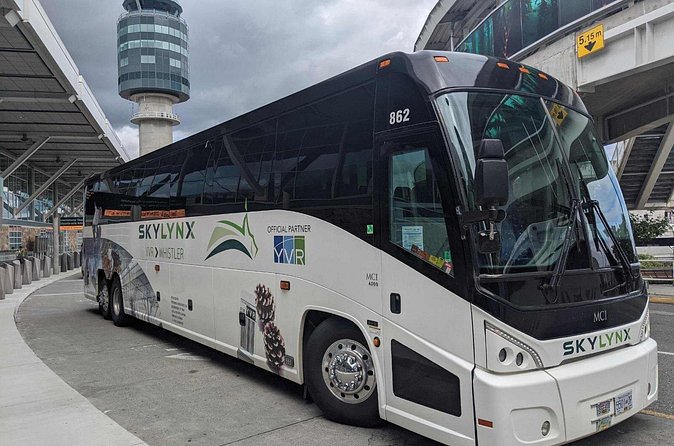
A good transfer ride should keep you moving, but it should also keep you comfortable. Here, the onboard basics are covered:
- Restroom on board
- WiFi on board
- air-conditioned vehicle
The restroom matters because it reduces the need to time your snack or water around bathroom breaks. It’s a simple comfort feature, but it changes the mood of a ride.
Wi-Fi can be handy for flight planning, checking messages, or catching up on something before your next stop. It’s not something you should rely on for critical tasks, but having it is a big plus on a multi-hour trip.
Air conditioning is one of those features that gets overlooked until you’re sitting in a vehicle during weather changes. It also helps if your winter gear has you feeling overheated the moment you step onboard.
Finally, the service runs with a professional driver, which keeps the experience calm. In one highlighted experience, a driver named Michael was described as an outstanding driver and host, with helpful support during the trip. That kind of service approach is exactly what you want when you’re coordinating a transfer.
Group Size, Booking Timing, and the Practical Feel of the Ride
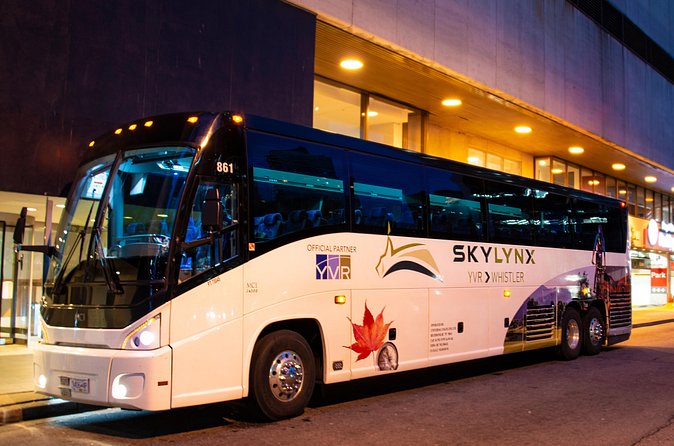
The maximum group size is 36 travelers, which is big enough for standard group operations but small enough to feel manageable. For most people, that means you’re not waiting forever in a crowded boarding process.
Booking timing is also pretty revealing. This service is commonly booked about 58 days in advance on average, which suggests people plan it as part of a larger itinerary. If you want good timing options, don’t wait until the last minute, especially in peak ski season.
Most trips work smoothly when everyone boards efficiently. To help it run that way, the guidance is to show up 15 minutes early. That’s not just a rule, it’s the difference between a calm start and a rushed lineup.
And if you’re traveling with a service animal, the service allows them. Children under 12 must be accompanied by an adult, which is another clear rule you can plan around.
Who Should Book This Bus (and Who Might Want a Different Option)
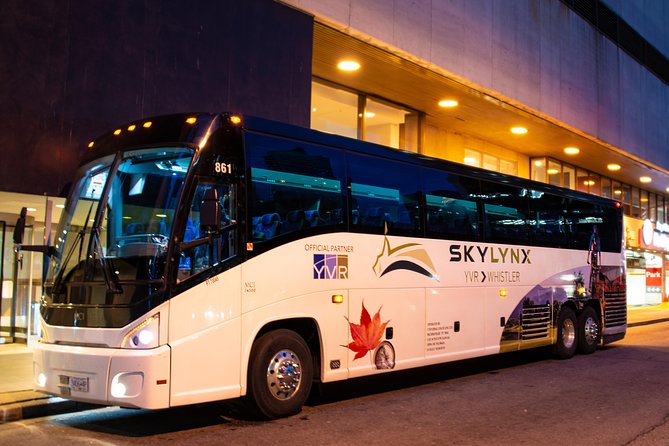
This ride makes the most sense for you if:
- you want a low-stress transfer between Whistler and Vancouver
- you’re traveling with winter gear and need luggage space that can handle it
- you value onboard comfort features like restroom and Wi-Fi
- you want more frequent options than a limited schedule can offer
It’s also a good choice if you’re coordinating with Vancouver airport timing. The meeting point is specific (YVR Skylynx kiosk on Level 2 arrivals), so you can plan your route from the terminal with less guesswork.
You might consider a different option if:
- you’re bringing multiple oversized items beyond the standard allowance
- you have extra equipment like bikes or additional ski sets and you want to minimize add-on fees
- your schedule is extremely tight and you’re trying to shave every minute down to the margin (in that case, you’ll want to compare departure frequency carefully)
But for most travelers, this is the kind of practical service that reduces the number of moving parts. Less logistics on transfer day usually means more energy for the fun part once you arrive.
Should You Book the EXECUTIVE Bus for Whistler to Vancouver?
If you want a dependable, gear-friendly transfer with comfort built in, I’d say yes. The ratings are strong at 4.6 out of 5 with 125 reviews, and 90% recommend the service. That combination usually signals consistent performance and a solid value balance.
Here’s the quick decision checklist I’d use:
- You travel with skis or bulky bags: this luggage setup helps.
- You want onboard convenience: restroom, Wi-Fi, and air conditioning are included.
- You can work within the included luggage limits: one large piece plus one hand bag.
- You can budget extras if needed: bikes ($20 each per trip) and extra ski sets ($15 each per trip).
If that matches your trip, booking this bus is likely one of the easiest moves you can make for a smoother Whistler to Vancouver day.
FAQ
How much does the Whistler to Vancouver Executive Bus cost?
The price is listed as $50.07 per person for a single trip.
How long is the trip?
The duration is approximately 3 hours.
Where do I meet the bus at Vancouver International Airport?
The Vancouver International Airport stop is at the Skylynx Kiosk at YVR arrivals on Level 2.
Where is the stop in Squamish?
The Squamish stop is located at the Squamish Adventure Centre, 38551 Loggers Lane, beside Highway 99.
What luggage is included in the fare?
Each customer is allowed one large piece of luggage and one hand luggage.
Are skis or a snowboard allowed?
Yes. One set of skis or one snowboard is allowed. Additional sets cost $15 for a trip each.
Can I bring a bike?
Bikes can be accepted in the luggage hold for an extra fee of $20 each per trip.
What amenities are included onboard?
The bus includes a restroom onboard, WiFi on board, and an air-conditioned vehicle.
What is the cancellation policy?
You can cancel up to 24 hours in advance for a full refund.
Is there a limit on group size, and are service animals allowed?
The maximum is 36 travelers. Service animals are allowed.
Recently listed around Whistler
- Whistler to Vancouver Scenic Seaplane Transfer: One Way★ 5.0 · 4 reviews
- Whistler Via Ferrata Tour★ 5.0 · 133 reviews
- Whistler’s Only Green River Whitewater Rafting★ 5.0 · 161 reviews
- Whistler’s Hidden Gems Tasting Tour – 4 Restaurants 1 Fun Evening★ 5.0 · 86 reviews
- Private Whistler Sightseeing Tour: Discover all of Whistler in Comfort!★ 5.0 · 65 reviews
- Whistler Development Ski Rental Package★ 5.0 · 48 reviews
- Whistler Sky Walk★ 4.5 · 13 reviews
- Whistler Development Snowboard Rental Package★ 5.0 · 7 reviews
Whistler Tours, compared.
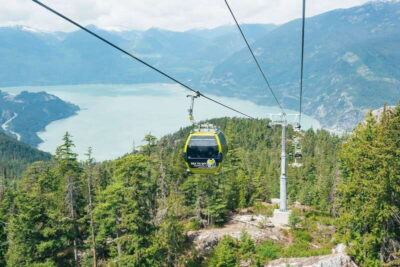
Whistler, Sea to Sky Gondola, and Shannon Falls Day Trip
Read our review →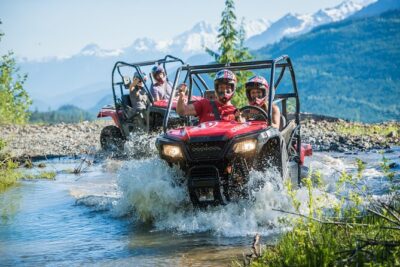
Whistler Odyssey Tour: Off-Road Buggy Adventure
Read our review →
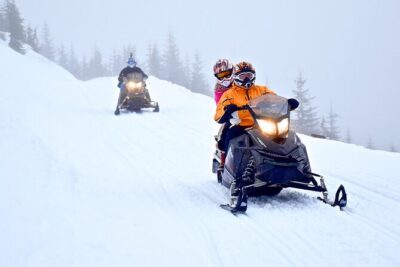
2 Hour Wilderness Adventure Snowmobile Tour in Whistler
Read our review →
Superfly Ziplines on Cougar Mountain – includes 4 ziplines!
Read our review →
Browse the lists this tour appears in