
REVIEW · SEA-TO-SKY & SQUAMISH TOURS
Squamish: Rock Climbing Beginner Experience
Your first climb is less about being fearless. It’s about learning fast.
In Squamish, this half-day beginner session turns outdoor climbing into a guided skill-building experience with serious payoff: real rock time and views from the top.
I like that you get professional certified guidance the whole way, not a vague “good luck” vibe. I also like that the included gear and photos taken by the guide make it easier to focus on learning and not fussing with equipment.
One thing to consider: this is active time, and you still need to bring your own food, water, and proper footwear since the activity doesn’t include those, plus the climb involves walking/hiking to the rock.
In This Review
- Key highlights I’d circle for planning
- Squamish beginner climbing, what 4 hours really feels like
- Meeting at the MSAA Office, then getting to the rock
- Gear and safety: what you get, and what it means for you
- The intro course approach: skills first, then climbing time
- Routes in Squamish: variety, real climbing, and top-out reward
- What to bring: the stuff that keeps your comfort from tanking
- What’s not allowed, and why it matters
- Who should book this, and who should skip it
- Price and value: is $108 per person a fair deal?
- Logistics that affect your day (and how to plan around them)
- The best way to get value from your guide
- Should you book this Squamish rock climbing beginner experience?
- FAQ
- What is the duration of the Squamish rock climbing beginner experience?
- How much does it cost?
- What’s included with the tour?
- Is transportation included?
- Where do we meet?
- What should I bring?
- What footwear is not allowed?
- Is the activity offered in English?
- Who is this experience not suitable for?
- Can I get a refund if my plans change?
Key highlights I’d circle for planning
- Certified instruction focused on getting you climbing safely and confidently
- Full gear included (shoes, harness, helmet, ropes) so you can travel light
- Beginner-friendly routes that can match different comfort levels
- Squamish rock features like slabs and cracks, taught with patience
- Guide-led photos so you keep proof of your effort
- Short half-day format that fits well if you’re also planning Whistler
Squamish beginner climbing, what 4 hours really feels like
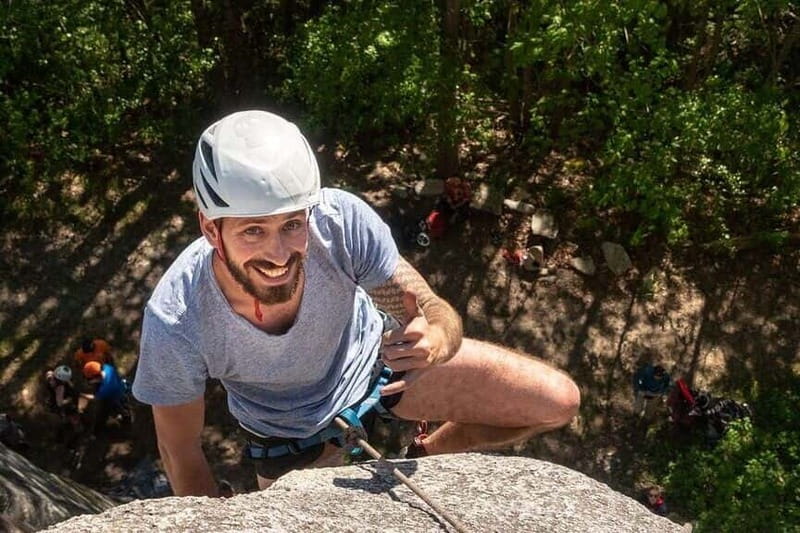
This is a half-day intro that aims to get you off the ground and up on real rock, without making you figure everything out by yourself. Expect a mix of walking, setup, and then time on the wall. The whole point is to help you try climbing in a way that feels safe, guided, and actually educational.
You’re not just doing one trick. You’re learning the basic “how to move and how to stay secure” ideas that let you practice climbing instead of panicking. And since you’ll likely climb routes that suit different abilities, you can grow your confidence step by step instead of being thrown into the deep end.
Compare these Sea-to-Sky and Squamish tours in Whistler:
- Whistler, Sea to Sky Gondola, and Shannon Falls Day Trip
★ 4.8 · 1,134 reviews - Squamish: Sea to Sky Gondola Admission Ticket
★ 4.8 · 432 reviews - Sea to Sky Gondola Ticket
★ 4.5 · 388 reviews
Meeting at the MSAA Office, then getting to the rock
The MSAA Office confirms the climbing location with you before your date. That means the exact spot can vary, but you’re not left guessing last minute. Just plan to be ready for that confirmation, especially if you’re staying elsewhere around Whistler and coordinating your schedule.
Also note: MSAA does not provide transportation. If you do not have a vehicle, the locations can be reached by public transport or taxi. Practically speaking, build in buffer time so you’re not sprinting to safety check and gear fitting.
One helpful timing clue from a verified booking: the group met at around 1:30 at the Squamish Adventure Centre area, then hiked a couple of miles to start climbing. It’s a good reminder that this is not “sit and climb only.” You’ll do a bit of moving before you start hanging on rock.
Gear and safety: what you get, and what it means for you
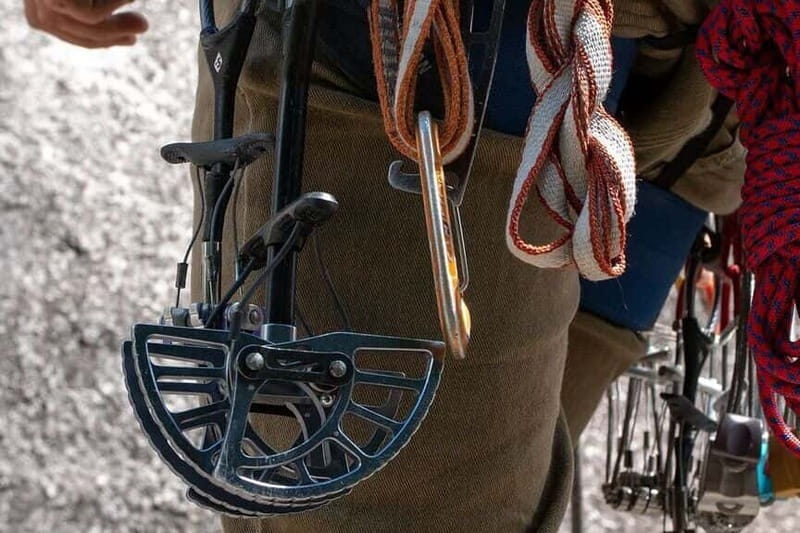
This experience includes the climbing equipment: climbing shoes, harness, helmet, and ropes. That matters more than it sounds. When your gear fits well and is the correct type, your confidence rises fast. And when you’re a beginner, good fit is half the battle.
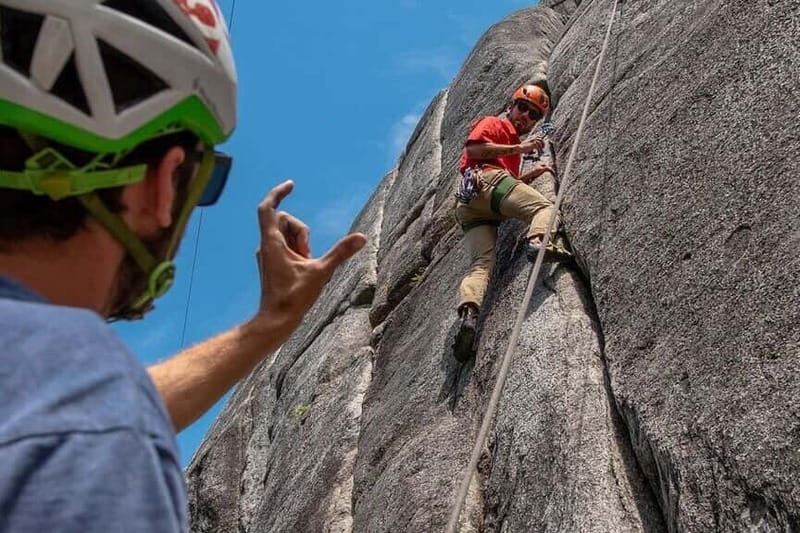
You’ll also have a professional certified guide with you, and that changes the vibe immediately. Instead of worrying whether you’re doing things right, you can listen, practice, and get corrected in real time.
Plus, the guide takes photos during the session. You don’t have to spend the day juggling a phone in one hand and safety instructions in the other. It’s one less distraction and a nice souvenir of your progress.
The intro course approach: skills first, then climbing time
This isn’t just a thrill ride. It’s designed as an introductory rock climbing course so you can take home skills you can build on later. The guide’s goal is to walk you through the requisite basics, then put those ideas into practice on actual routes.
Here’s what you’ll feel as you move through the session:
- You start with setup and safety basics, so you understand what’s happening and why.
- You practice climbing movements on beginner-appropriate sections.
- You get feedback while you’re still “learning mode,” so corrections stick.
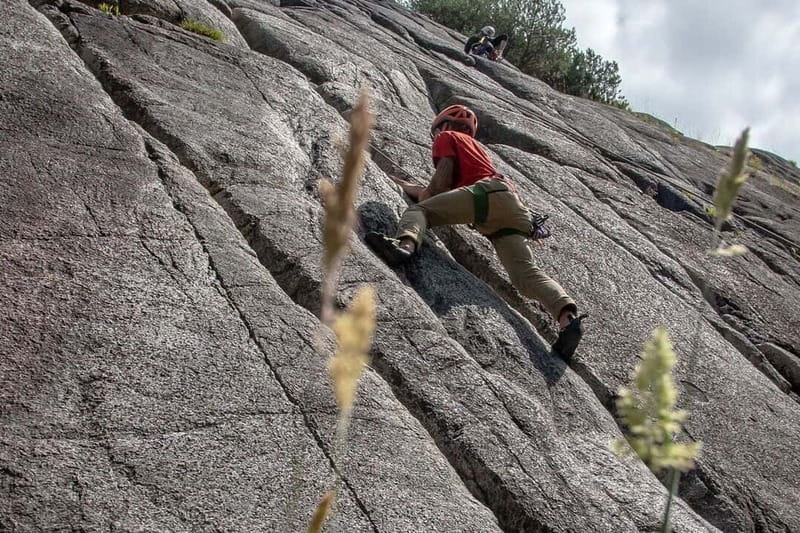
In one verified booking, Guillaume tailored the climbing to the group’s ability and helped build skill and confidence on rock slabs and cracks in Squamish. That combination is big for beginners because slabs and cracks teach different body positions and movement habits. And the fact that the guidance emphasized patience is key. Beginners do best when they’re allowed to learn at human speed.
A few more Whistler days to compare
- Zipline Adventure in Whistler
★ 5.0 · 1,367 reviews - Whistler Odyssey Tour: Off-Road Buggy Adventure
★ 5.0 · 750 reviews - Whistler Wilderness Run Snowmobile Tour
★ 5.0 · 724 reviews - Wet and Wild Elaho Exhilarator Rafting
★ 5.0 · 625 reviews
Routes in Squamish: variety, real climbing, and top-out reward
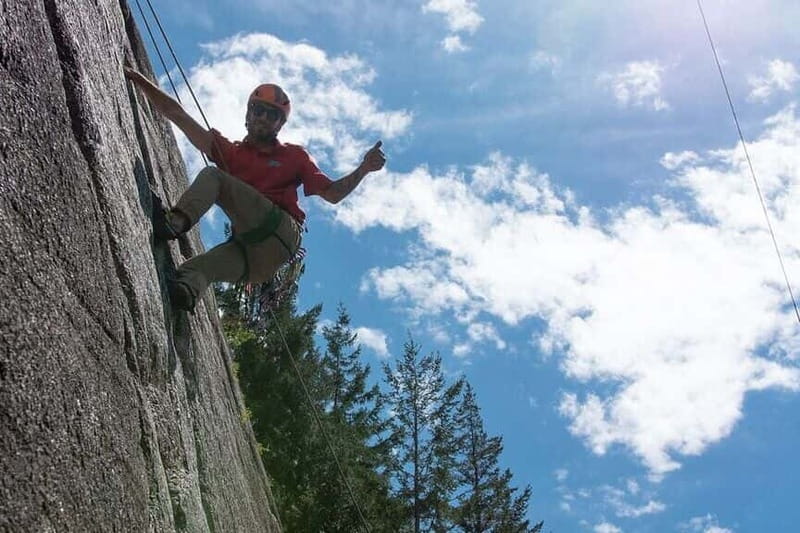
Squamish is known for quality climbing, and this beginner experience aims to use some of the best routes in the area. The important part for you is that you’ll have options that suit different ability levels. That keeps the session from turning into a one-size-fits-all scramble.
You’ll also get scenery benefits while you climb. The top of your route is where the “I did it” feeling kicks in. Reaching the top lets you look out and appreciate where you are, not just focus on your next handhold.
Even if you’re chasing adrenaline, the most satisfying moments usually come from calm repetition: try, adjust, succeed. A guided session helps you get there faster.
What to bring: the stuff that keeps your comfort from tanking
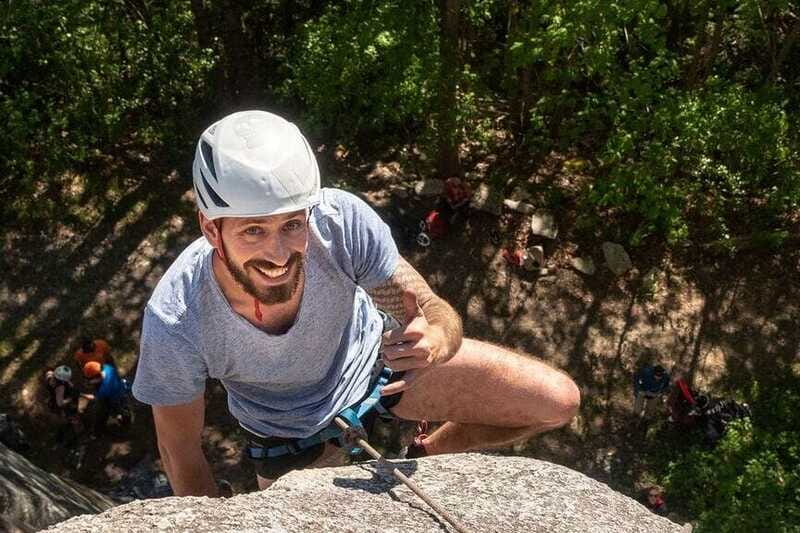
The activity provides technical climbing gear, but you still need to cover your comfort and basic hiking needs.
Bring:
- Food and drinks (snacks count)
- Water
- Hiking shoes
- Sunglasses
- Sunscreen
- Rain gear
Yes, sunglasses and sunscreen may sound like “basic Canada,” but this area can swing from bright to drizzly fast. If you’re not used to sun at altitude or near mountains, you’ll want the protection.
Rain gear is also smart because outdoor climbing doesn’t magically become indoor climbing when weather changes. If you end up in wet conditions, having rain gear helps you stay warm and keep moving instead of feeling miserable.
What’s not allowed, and why it matters
The rules are straightforward:
- No open-toed shoes
- No high-heeled shoes
- No weapons or sharp objects
- No alcohol and drugs
From a practical safety standpoint, it’s all about control and predictability. Your feet need grip and stability, and the guide needs a clean environment to run equipment and safety checks.
If you’re packing for the day, wear closed-toe footwear that can handle a bit of walking to the climbing spot. The climbing shoes provided will handle the detailed grip on rock, but you still need solid shoes for getting there.
Who should book this, and who should skip it
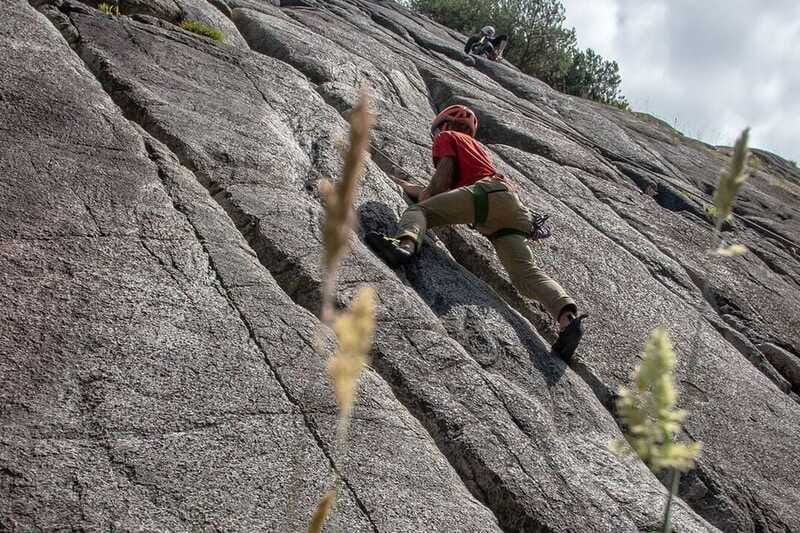
This is a strong fit for anyone who wants to try rock climbing without already knowing how to climb. It’s also a nice option if you’re in the Whistler area and you want an outdoor adventure that doesn’t take you a whole day away.
You should consider skipping it if:
- you’re pregnant
- you have back problems
- you have mobility impairments
- you use a wheelchair
- you are visually impaired
That’s not me being picky. It’s about the physical demands and the way climbing requires close attention to movement and safety procedures.
If you’re generally healthy, able to hike a bit, and ready to learn through instruction, you’re in the right category.
Price and value: is $108 per person a fair deal?
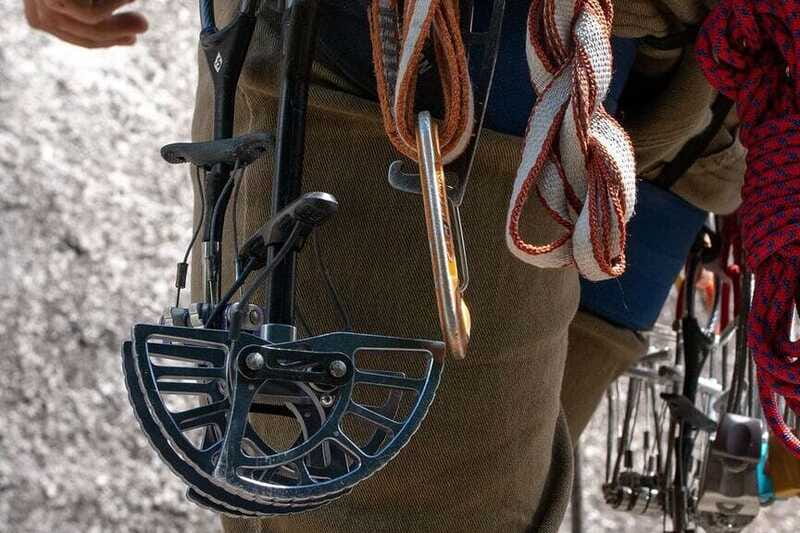
At $108 per person for a 4-hour experience, the value depends on what you’re bringing to the table. If you already own a harness, helmet, and climbing shoes, it might feel pricier than a self-guided day. If you don’t, it’s instantly more reasonable because the core equipment is included.
What you’re really paying for is:
- expert, certified supervision through the entire session
- instruction that tries to teach skills, not just provide access
- the equipment bundle (so you don’t have to rent or buy)
- photos taken by the guide
For beginners, that combo tends to pay off. The fastest learning moments happen when someone can correct your technique on the spot, keep safety tight, and help you avoid common mistakes. You’re not spending extra time figuring out gear basics or safety procedures while on the rock.
Logistics that affect your day (and how to plan around them)
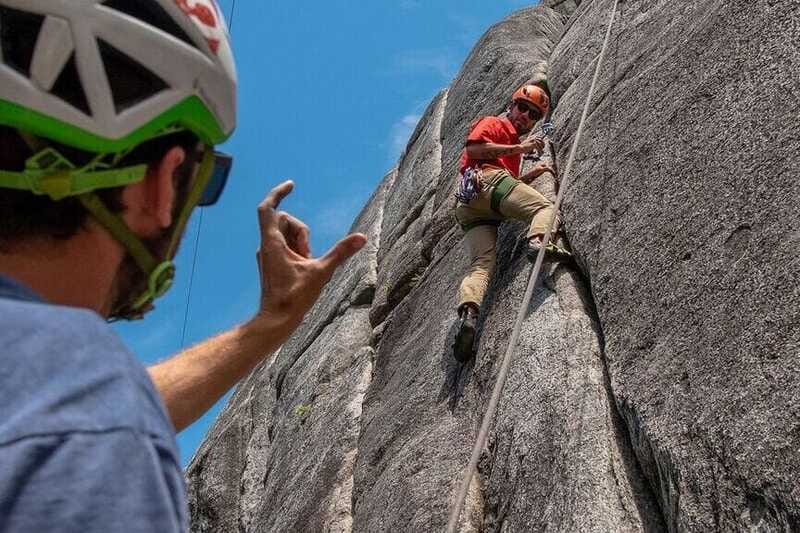
Two things drive your comfort and enjoyment more than you’d expect: food and getting to the meeting point area.
- The tour does not include snacks or water, so bring enough for the day you’re actually having. A small snack stash helps you stay focused and keep energy up during the walking and climbing.
- Transportation is not included. If you rely on public transport, check timing before the day of. If you’re using a taxi, give yourself slack. You want gear setup to be calm, not rushed.
Also, pack for weather. Sunglasses, sunscreen, and rain gear are simple, but they prevent a lot of “my day is ruined” stress.
The best way to get value from your guide
Even with great gear and a solid plan, your results depend on how you participate. Here’s how to get the most out of a beginner session like this:
- Ask questions early, especially about what you’re about to do and what “good technique” looks like.
- Listen for corrections, then try again right away. Beginners improve quickly when feedback is immediate.
- Keep your pace honest. If you’re tired, tell the guide. They can adjust what you try next.
- Treat the views as part of the training. Slower breathing and steady movement helps you enjoy the climb and not just survive it.
If your guide is Guillaume, you’ll likely notice a strong “tailored to your ability” approach. That’s the kind of instruction that helps you build confidence instead of just climbing once and moving on.
Should you book this Squamish rock climbing beginner experience?
I’d book it if you want a structured first step into outdoor climbing, you’re okay with a short hike before climbing, and you want a certified guide who handles safety and instruction. The included gear and guide photos also help it feel like a real experience rather than a random activity you have to prepare for.
I’d skip or rethink it if you’re not able to handle physical activity, if the restrictions apply to you, or if you’d be uncomfortable bringing your own food, water, and appropriate hiking/rain gear.
If you’re in the Whistler region and you want something hands-on, scenic, and genuinely beginner-friendly, this is a practical way to test your climbing passion without turning your first day into chaos.
FAQ
What is the duration of the Squamish rock climbing beginner experience?
The activity lasts 4 hours.
How much does it cost?
The price is $108 per person.
What’s included with the tour?
It includes rock climbing equipment (climbing shoes, harness, helmet, ropes), a professional certified guide, and photos taken by the guide.
Is transportation included?
No. Transportation is not provided. The locations can be reached by public transport or taxi.
Where do we meet?
The MSAA Office will confirm the climbing location with guests prior to the activity date.
What should I bring?
Bring sunglasses, food and drinks, hiking shoes, sunscreen, water, and rain gear.
What footwear is not allowed?
High-heeled shoes and open-toed shoes are not allowed.
Is the activity offered in English?
Yes, the instructor speaks English.
Who is this experience not suitable for?
It is not suitable for pregnant women, people with back problems, people with mobility impairments, wheelchair users, or people with visual impairments.
Can I get a refund if my plans change?
Yes. Free cancellation is available up to 24 hours in advance for a full refund.
Recently listed around Whistler
- Squamish: Via Ferrata Climbing Adventure★ 5.0 · 25 reviews
- Paradise Valley: Bee Adventure Tour!★ 5.0 · 4 reviews
- Vancouver/Squamish: Garibaldi Park Panorama Ridge Hike★ 5.0 · 12 reviews
- From Vancouver: Shannon Falls and Whistler Sightseeing Tour★ 4.1 · 4 reviews
- Finer Things: 4-Course Dinner Tour in Whistler★ 4.8 · 20 reviews
- Family-Friendly Cheakamus Splash★ 4.9 · 36 reviews
- Whistler Train Wreck, Suspension Bridge & Hidden Waterfall Adventure★ 5.0 · 24 reviews
- Whistler: The Sea to Sky Helicopter Tour and Glacier Landing★ 4.9 · 78 reviews
Sea-to-Sky & Squamish Tours, compared.

Whistler & Sea to Sky Gondola with Shannon Falls
Read our review →
Whistler, Sea to Sky Gondola, and Shannon Falls Day Trip
Read our review →
Whistler and Sea to Sky Gondola Tour + Shannon Falls
Read our review →
Whistler & Sea to Sky Gondola Day Trip from Vancouver
Read our review →

Vancouver City Centre to-or-from Whistler or Squamish (One-way)
Read our review →Browse the lists this tour appears in