
REVIEW · STANLEY PARK TOURS
Stanley Park Self Guided Bike Tour
Stanley Park by bike is pure joy.
This self guided GPS audio tour turns a simple ride into a story you can follow in real time, with tips and info delivered right as you reach each landmark. I love how the route is an easy 9 km loop, and I also like that you can pause for stops like the Stanley Park Sea Wall, Vancouver Aquarium, Totem Poles, and beaches on your own schedule. One thing to plan for: you’ll need your own bike rental, plus you’ll want to bring earbuds since headphones aren’t included.
One more practical note before you go: the audio guidance depends on your phone staying active enough to receive GPS prompts. I’ve seen it work smoothly when the phone screen is on, but if your phone locks and stops updating, the GPS progress can feel off. Also factor in that bike rental is separate, and rental prices can be up to around 40 CAD.
In This Review
- Key things I think you’ll notice fast
- Getting set up at Spokes Bike Rental, then rolling
- The 9 km Stanley Park loop, and how the “easy” label plays out
- Stanley Park Sea Wall: the ride you came for
- Totem Poles and Brockton Point: where stories get specific
- Vancouver Aquarium area: choose your level of curiosity
- Lions Gate Bridge views: make time for one good pause
- Third Beach (and Second Beach): pack like you might actually swim
- Lost Lagoon: the “extra” highlight that feels like a bonus
- Using the app on your phone, without the common audio hiccups
- Price value: $6 for audio, plus the real cost of wheels
- What to pack for a 2 hour ride in a coastal park
- Who this Stanley Park bike audio tour is perfect for
- Should you book this GPS audio bike tour of Stanley Park?
- FAQ
- Where does the Stanley Park self guided bike tour start?
- How long is the experience?
- How much does it cost?
- Is the bicycle or scooter rental included?
- Are headphones included?
- What bike riding difficulty should I expect?
- What are the main highlights on the route?
- Do I need to book in advance?
- Is the tour wheelchair accessible?
- Can I cancel for a refund?
Key things I think you’ll notice fast
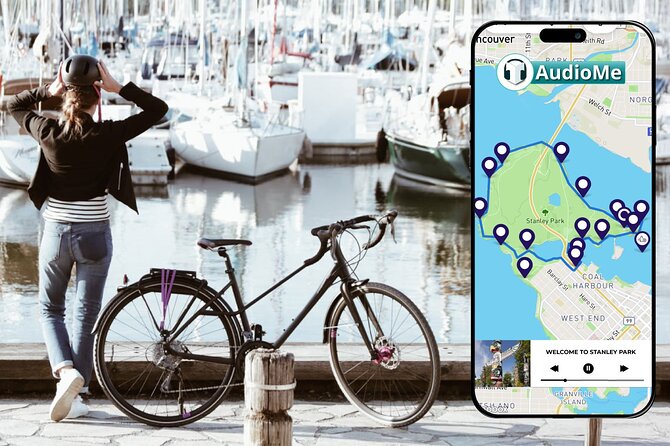
- GPS-triggered narration that plays as you ride, so you don’t constantly check maps
- A low stress 9 km loop with only a few small hills
- Big photo moments from the Sea Wall, plus bridge and harbor views
- Classic park landmarks including Totem Poles, Brockton Point, and Vancouver Aquarium area
- Beach time built into the route, including Third Beach (and Second Beach and Lost Lagoon as highlights)
Getting set up at Spokes Bike Rental, then rolling
Your tour starts at Spokes Bike Rental, 1798 W Georgia St, Vancouver. The ticket gives you access to the GPS based audio tour in the app, but the bike itself is not included, so you’ll want to rent before you ride.
What makes this setup work well is that you’re not stuck waiting for a guide to herd the group. You download the app for iOS or Android, then you follow the route when you’re ready. The app also includes a GPS map showing where you are and how to travel the loop.
If you’re traveling with friends, do one person the job of getting the app ready first. Once everyone is rolling, you can focus on pedaling and scenery. And because this is easy riding, you’ll likely have time to stop for photos without turning it into a timed race.
More Bike Tours in Vancouver
- The Grand Bicycle Tour by Cycle City Tours
★ 5.0 · 1,827 reviews - Epic Electric Bike Tour by Cycle City Tours
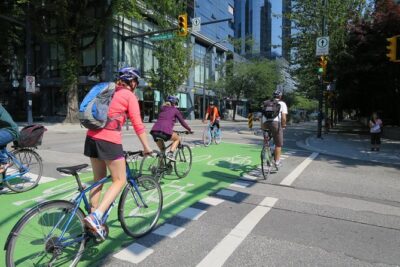
★ 5.0 · 848 reviews - The Stanley Park Bicycle Tour by Cycle City Tours
★ 5.0 · 785 reviews
The 9 km Stanley Park loop, and how the “easy” label plays out
This tour is designed as easy riding for all levels, with only a few small hills. That matters in Stanley Park, because you can be tempted to treat the ride like a workout. Instead, plan to treat it like a moving viewpoint, with breaks built in.
Over a 2 hour window, the loop gives you a practical way to see a lot without spending the entire day on wheels. You’ll pass the marquee sights, and you’ll also get the feeling of cruising through park scenery rather than just circling a parking lot.
Here’s the best mindset to have: ride first, wander second. If you start taking long stops right away, you can run out of daylight or energy. If you ride the loop’s main spine first, you’ll know exactly where you want to linger.
Stanley Park Sea Wall: the ride you came for

The Stanley Park Sea Wall is the headline, and for a reason. It’s a high payoff stretch where you can keep moving, catch sweeping views, and hear the commentary as the park opens up around you.
What I like about this kind of segment is that it’s visually rich but physically manageable. You get the best of both worlds: a calm ride with built in perspective. Even if you’re not a hardcore photographer, you’ll still want to stop once or twice, because the views toward downtown Vancouver are the kind you remember later.
Practical tip: when you stop on a busy viewing area, step off the riding line and take photos quickly. There’s nothing worse than becoming a roadblock while you try to frame the perfect shot.
Totem Poles and Brockton Point: where stories get specific
After the Sea Wall, the tour brings you to the Totem Poles and around Brockton Point. This is where the audio format really helps. Landmarks like these are easy to admire from a distance, but audio turns them into context you can actually hold onto while you’re standing there.
I like that the commentary is framed for real moments: you reach the site, the app gives you history and local knowledge, and you can decide how long to stay. That flexibility is one of the best things about self guided tours, especially in a park where foot traffic and bike traffic can vary by time of day.
Wildlife and nature can also be part of what you notice here, so keep your eyes up. If you’re cycling with kids, this is a good area to encourage curiosity, because the totems are instantly recognizable and the surrounding park details can feel like a living museum.
A few more Stanley Park tours around Vancouver:
- Vancouver City Sightseeing Tour: Granville Island & Stanley Park
★ 4.5 · 1,782 reviews - Vancouver Tour: Stanley Park, Granville Island & Capilano Bridge
★ 4.5 · 1,778 reviews - Stanley Park Horse Drawn Tour in Vancouver
★ 4.5 · 550 reviews - Stanley Park & Downtown – Vancouver Bike Tours
★ 5.0 · 243 reviews
Vancouver Aquarium area: choose your level of curiosity
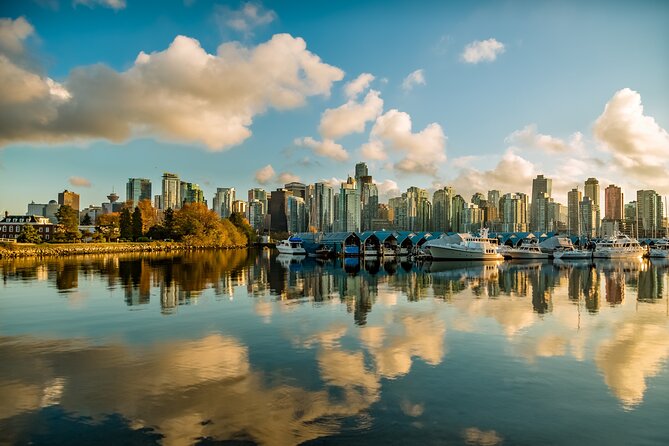
The route includes Vancouver Aquarium as a key stop. The audio experience can help you understand what you’re seeing before you even step closer, which is useful if you like knowing the why, not just the wow.
The catch is simple: the tour is audio guidance, not a ticket to enter the aquarium. You can still appreciate the area from the outside and use the stop as a chance to decide whether you want to spend extra time inside.
If you’re short on time, treat the aquarium stop like a quick mission: listen, look around, take a photo, and decide. If you have more time and your group includes animal lovers, you’ll probably want to add a visit.
Either way, this is a strong mid-ride pause because it breaks up the cycling with a different kind of attraction.
Lions Gate Bridge views: make time for one good pause
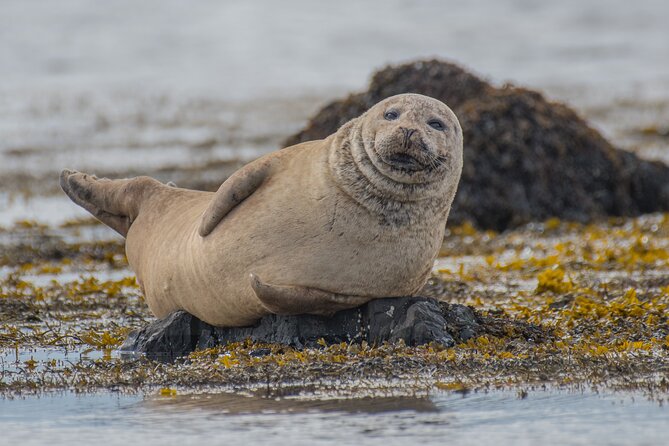
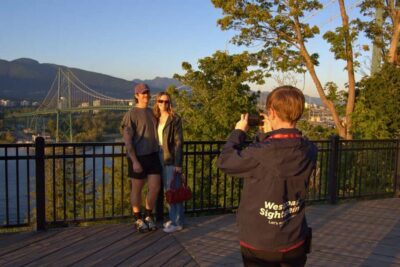
The Lions Gate Bridge segment is one of those “you’ll remember it” moments. Even if you’ve seen photos online, the real thing hits differently when you’re there and the city and water sit together in your view.
This is a place where a GPS audio tour beats guesswork. Instead of wondering where the best perspective is, you can use the app’s cues to time your stop. You don’t need to camp out for long, but you should plan for one solid pause for photos.
Photo tip that saves frustration: bring your phone accessories or a small towel if it’s humid or misty. Coastal weather can change quickly, and you don’t want to keep wiping your lens every 10 seconds.
Third Beach (and Second Beach): pack like you might actually swim
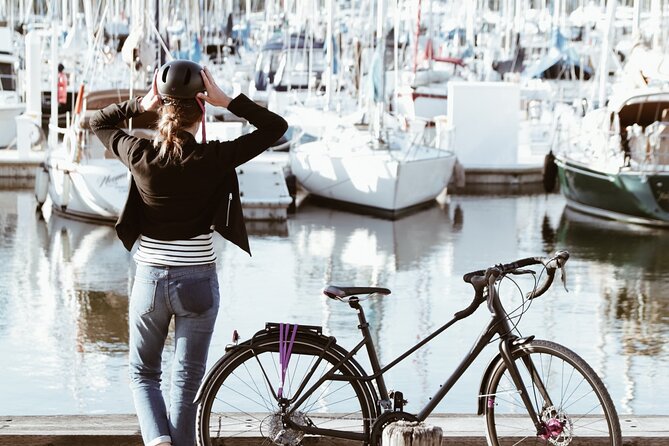
The route highlights include Third Beach, plus Second Beach. These beach stops are more than “pretty scenery.” They’re a built-in reason to slow down and actually enjoy the park the way many locals do: sit for a bit, feel the breeze, and maybe take a quick dip if the conditions are right.
The packing list is very pointed here. Bring a bathing suit if you want the option to go for it. Also pack sunscreen, a hat, and sunglasses, because even if the day looks mild, water-side sun can surprise you.
Third Beach is often a key destination because it feels like the park turns into coastline rather than just a strip of land. If you’re traveling with someone who wants beach time, this is where the tour earns its keep.
If you don’t want to get in the water, you can still treat beach stops as rest stops. Sit, recharge, and listen to the audio in a quieter setting.
Lost Lagoon: the “extra” highlight that feels like a bonus
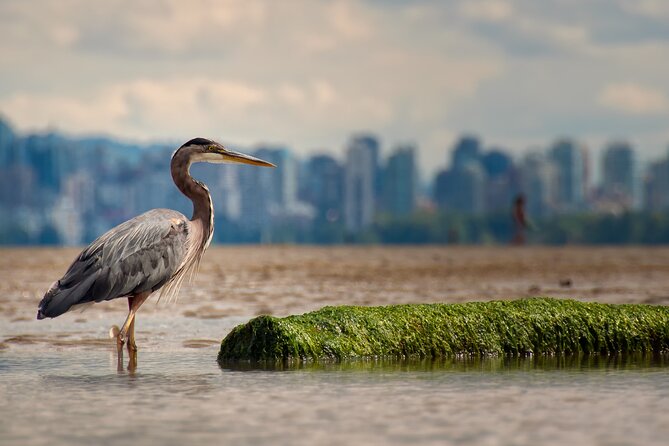
Lost Lagoon is listed among the highlights, which I love because it adds variety. Instead of only chasing the most famous views, the route gives you a quieter kind of scenery, one that feels more park-like and less “big landmark.”
If you’re traveling during a busy season, spots like this can feel like a breath of calm. You might still find people around, but it tends to be a different vibe than the Sea Wall photo stops.
Use this section to reset your energy. Take a few minutes without filming everything. Let the scenery do the work.
Using the app on your phone, without the common audio hiccups
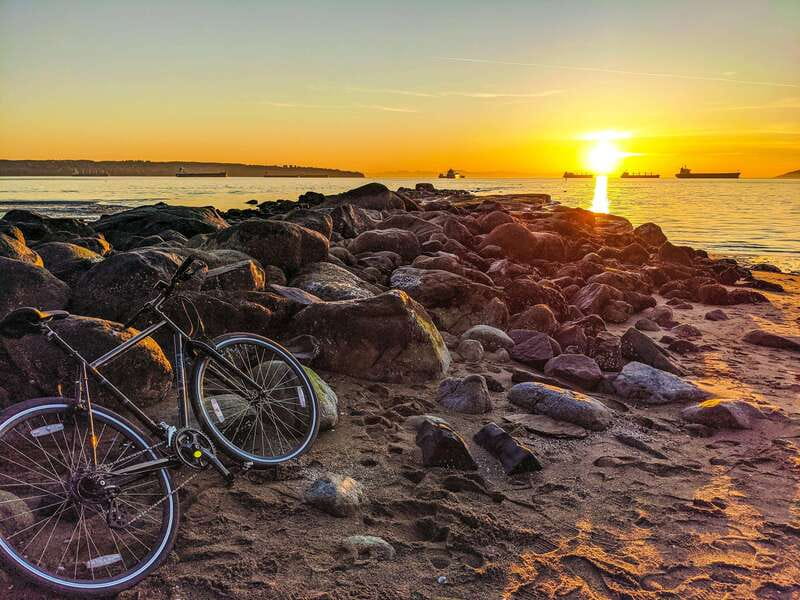
This tour is powered by an app from Moves Media with GPS based audio. The experience includes expert guided commentary with history, local knowledge, and fun facts. You also get the GPS map view to track your location and route.
Two important practical notes, based on real-world experience with GPS audio:
- Bring earbuds (or a small speaker). Headphones are not included.
- Keep your phone active. One issue that can happen is that GPS progress and audio triggering can lag if the phone is locked or not updating as expected.
So I recommend you start with your phone already charged and unlocked, then leave it that way while you’re riding. If you tend to conserve battery aggressively, turn off the strict battery saver settings.
Also, keep in mind that you’ll likely stop a lot for photos and beach time. That makes battery management part of the ride. Charge your phone before you leave the rental shop.
Price value: $6 for audio, plus the real cost of wheels
The tour price is $6 per person for access to the GPS audio experience. That’s a low price for the amount of guidance you get, especially because it includes the audio map and commentary.
But here’s the honest breakdown. The $6 is for the app tour, not for a bike. You’ll also need to rent a bicycle or scooter at Spokes Bikes, and rental can cost up to around 40 CAD. That means your all in cost depends mostly on the bike rental price and what extras you bring.
Still, even with bike rental added, this can be strong value if you want structured guidance without paying for a full guided bike tour. You get the “where and why” for the major sights while keeping control over your own pace.
If you already plan to rent a bike anyway, the audio component is the bargain. If you’re not sure about cycling, then the bike rental cost becomes the deciding factor.
What to pack for a 2 hour ride in a coastal park
You’re out for about 2 hours, so you don’t need a backpack full of gear. But you do need the basics that keep the ride pleasant.
Bring:
- A water bottle
- Sunscreen, hat, and sunglasses
- A snack or lunch, or plan to buy along the route
- Your camera
- If you want the option to swim, a bathing suit
- Wireless earbuds or a small speaker
- A fully charged phone (this matters for GPS audio)
Also bring a phone charging plan if you have one, like a small power bank. It’s not required by the instructions, but if you stop frequently and use navigation often, it can help.
Who this Stanley Park bike audio tour is perfect for
This is a great fit if you want to see Stanley Park landmarks without locking into a strict group schedule. The easy pace helps, and the audio adds meaning to stops like Totem Poles, Brockton Point, and the Sea Wall.
It’s especially good for:
- Couples who want to talk and stop when they want
- Families who like landmarks and a flexible pace
- Visitors who want local context but don’t want a formal lecture
- Anyone who likes biking and wants guidance to avoid wandering in circles
It may not be the best fit if your biggest goal is a fully guided experience where someone manages everything. This is about you riding and listening, not following a guide on a tight itinerary.
Should you book this GPS audio bike tour of Stanley Park?
If you’re planning a bike rental anyway and you want a simple, meaningful way to cover major sights in about 2 hours, I’d book it. The best part is the low entry price for the audio guidance, plus the freedom to pause at Sea Wall viewpoints, Totem Poles, aquarium area stops, and beach highlights like Third Beach.
If you’re worried about phone battery life or hate depending on app GPS, do a quick test at home first and set your phone settings so it won’t lock mid ride. Also budget for bike rental since that’s the part that can change the total cost the most.
If you want Stanley Park with structure, but still on your own terms, this one fits the bill.
FAQ
Where does the Stanley Park self guided bike tour start?
The tour starting point is Spokes Bike Rental at 1798 W Georgia St, Vancouver.
How long is the experience?
The total duration is about 2 hours.
How much does it cost?
The price is $6 per person.
Is the bicycle or scooter rental included?
No. Bike or scooter rental is not included, so you will need to rent separately at Spokes Bikes.
Are headphones included?
No. Headphones are needed to connect to your phone, but they are not included, so you’ll want to bring wireless earbuds or a speaker.
What bike riding difficulty should I expect?
The difficulty is easy, suitable for all levels of riding, with a few small hills.
What are the main highlights on the route?
Key highlights include Stanley Park Sea Wall, Totem Poles, Lions Gate Bridge, Vancouver Aquarium, Third Beach, plus other highlighted areas like Second Beach and Lost Lagoon.
Do I need to book in advance?
The audio experience is started by downloading the app, and the activity info indicates that you can check starting times. You can also reserve with pay later options.
Is the tour wheelchair accessible?
Yes, the experience is listed as wheelchair accessible.
Can I cancel for a refund?
Yes. Free cancellation is listed as cancel up to 24 hours in advance for a full refund.
More Cycling Tours in Vancouver
- Vancouver: Guided Bike Tour
★ 4.9 · 435 reviews - Vancouver Biking and Hiking Tour including Lunch
★ 5.0 · 125 reviews - The Ultimate Stanley Park E-Bike Tour
★ 4.9 · 33 reviews - Bike and Hike Vancouver
★ 5.0 · 4 reviews
Recently listed around Vancouver
- The Ultimate Stanley Park E-Bike Tour★ 4.9 · 33 reviews
- Vancouver: The Supernatural TV Show Locations Tour★ 4.9 · 32 reviews
- The Haunting of Vancouver Film Tour★ 4.9 · 9 reviews
- Stanley Park Tour by Car:Small Group Value,See More,Pay Less★ 4.9 · 51 reviews
- Stanley Park EUC & E-scooters loop tour★ 5.0 · 4 reviews
- Snowshoeing At The Top Of The Sea To Sky Gondola★ 5.0 · 6 reviews
- Vancouver: North Shore Mountains Snowshoeing with Transfer★ 5.0 · 6 reviews
- SKY Heli-Tour of Vancouver (Downtown)★ 5.0 · 23 reviews
Stanley Park Tours, compared.

Vancouver City Sightseeing Tour: Granville Island & Stanley Park
Read our review →
Vancouver Tour: Stanley Park, Granville Island & Capilano Bridge
Read our review →
The Stanley Park Bicycle Tour by Cycle City Tours
Read our review →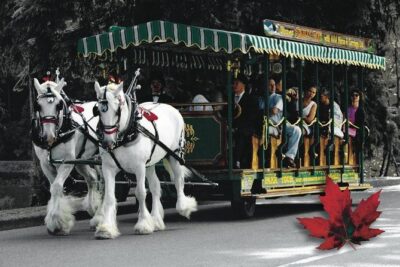
Sunset Bus Tour: Stanley Park & English Bay Photostops
Read our review →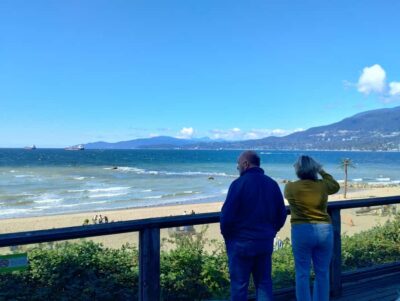
Stanley Park Tour by Car:Small Group Value,See More,Pay Less
Read our review →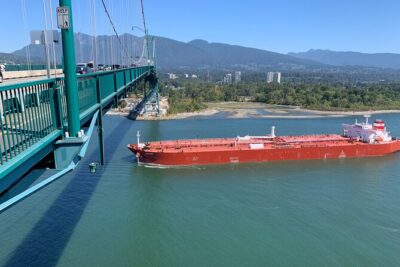
Browse the lists this tour appears in