
REVIEW · PHOTOGRAPHY SESSIONS
Photography & Rockies Road Trip
Pack light and chase the Rockies light. This 5-day photo-focused road trip out of Vancouver connects Jasper, Lake Louise, and Yoho with a professional photographer guide who helps you turn scenery into sharp shots. Expect wildlife stops, short hikes, hot-springs breaks, and plenty of time to get photos at the angles that actually matter.
I love how the trip is built around photo timing and location, not just check-the-box stops. You get practical coaching for both smartphone and DSLR shooting, and you also get those gentle reminders that make a big difference in the field, like bringing a lens cloth for sudden rain.
A possible drawback is that this kind of photography trip is weather dependent, and some days involve long drives plus hiking while you balance camera gear with comfort. If you hate cold rain or glare, plan for a flexible mindset.
In This Review
- Key highlights worth planning for
- Why this Rockies photo road trip feels different from a bus tour
- Price and what you actually get for $1,158.78 per person
- Small group format, pickup timing, and how long drive days work
- Day 1 Jasper National Park: drives that set up your first real shot
- Day 2 Maligne Canyon, Sulphur Skyline, and the hot springs reset
- Day 3 Athabasca Falls, Icefields, and Peyto Lake’s wide-angle moments
- Day 4 Lake Louise, Moraine Lake, and the Plain of Six Glaciers trail
- Day 5 Emerald Lake and Natural Bridge, the short finale that still counts
- The photography coaching you can use immediately, smartphone to DSLR
- Camping and hiking style: doable days, clear safety mindset
- What to pack so the trip stays fun, not fussy
- Who should book this trip, and who might not love it
- Should you book Photography & Rockies Road Trip with Nature PhotoHikes?
- FAQ
- How long is the Photography & Rockies Road Trip?
- What time does the tour start?
- Is pickup available from Vancouver?
- What group size should I expect?
- What languages is the tour offered in?
- What is included in the price?
- What is not included?
- What if weather is bad?
Key highlights worth planning for
- A real photo guide in your corner helps with smartphone and DSLR settings so you can shoot confidently
- Small group size (max 5 people) keeps the pace workable and makes it easier to adjust on the fly
- Park fees handled for you, so you spend less time on logistics and more time on the view
- Wildlife photo chances come up more often than you’d expect on a road itinerary
- Hot springs and short hikes break up the driving without turning the trip into a fitness challenge
- Lighting-focused stop planning means you’re not just driving past the good stuff
Why this Rockies photo road trip feels different from a bus tour
This is not the kind of tour where you sit on the same side of the vehicle all day and hope for good timing. The approach is more like: set yourself up, then go hunt the shot. That matters because the Rockies can look gorgeous at any time, but photos only pop when the angle, light, and viewpoint line up.
What makes it work is the combination of a professional photographer guide, a tight itinerary, and a small group. With a max of 5 people, you are less likely to get stuck waiting for the group to shuffle through a viewpoint line. You can also take a minute to reset your framing, then move on.
I also like the day rhythm. Some days lean toward driving and scenic pull-offs, while other days give you a proper hiking stretch and a chance to slow down. In a week, that mix helps you avoid the burned-out feeling that can happen on big road trips.
More Photo Tours in Vancouver
- Vancouver Half-Day Whale Watching Adventure with Free Photos
★ 5.0 · 5,000 reviews - Vancouver: Covered Whale Watching Adventure with Free Photos
★ 4.8 · 2,260 reviews - Vancouver Sunset Whale Watching Adventure with Free Photos
★ 5.0 · 454 reviews
Price and what you actually get for $1,158.78 per person
At $1,158.78 per person for about 5 days, the headline cost can look high if you compare it to a standard shuttle. But you’re paying for several things that add up fast in the Rockies.
Your price includes:
- Driver/guide and transportation
- National park fees
- A professional photographer guide
- Professionally led hiking and camping experience
Also, the itinerary lists admission ticket free for each stop, which lines up with the idea that park fees are covered as part of the package.
Not included are the items that usually sneak into your budget:
- Food and drinks
- Upgrade in accommodation to hotel or hostel
- Extra activities like canoe rentals or gondola tickets
Value check for you: if you want photography guidance plus a ready-made plan through major parks, this can be a fair deal. If you only want sightseeing with no photo coaching, you might feel like you paid for help you do not use. The sweet spot is when you want to learn, shoot better, and still have the logistics handled.
Small group format, pickup timing, and how long drive days work
You start at 8:00 am. Pickup is offered from a prearranged Vancouver location of your choice, so you are not locked into one meeting point if that is inconvenient.
The group limit is up to 5 travelers, with a minimum of 2 people. That matters because you get a more flexible day-to-day flow. It also means you will likely be sharing viewpoints and photo moments with fewer people, which helps when you want to compose without random clutter in the frame.
Time balance is the real consideration. Day schedules look long in the itinerary, with multiple stops across major areas like Jasper and the Icefields. That is normal for this part of Canada. If you tend to get stiff in the car, plan a routine: water, short stretches during pull-offs, and layers so you can handle sudden temperature changes.
One more practical note: the experience requires good weather. If weather pushes things around, you should expect that. That is not a failure. It is how you protect the photo results.
Day 1 Jasper National Park: drives that set up your first real shot
Day 1 is a long scenic drive from Vancouver toward Jasper National Park, passing through Kamloops and the Rockies. It is eight hours on paper, so think of it as the day you get oriented, settle in, and start building your “what to shoot” eye.
The first day also matters psychologically. When you arrive in Jasper after the drive, you are ready to pay attention to details, not just chase the biggest view. The park is the foundation for what comes next, since so many later stops sit in the same broader region.
What to watch for as you go:
- Lighting changes fast at elevation and near water
- Wildlife sightings can happen in unexpected places, not only at the dramatic pull-offs
- If you have both smartphone and DSLR, this is a good day to test your settings before you hit the major photo moments
The tour includes national park fees and a driver/guide, so you can focus on shooting and hiking rather than plotting where you need to pay.
A few more Vancouver days to compare
- Photography in Rainforest & Suspension Bridge
★ 5.0 · 54 reviews - Photography, Gondola & Snowshoeing
★ 5.0 · 47 reviews - Photography & Hiking in Nature
★ 5.0 · 36 reviews - Photography & Intermediate Hiking
★ 4.5 · 35 reviews
Day 2 Maligne Canyon, Sulphur Skyline, and the hot springs reset
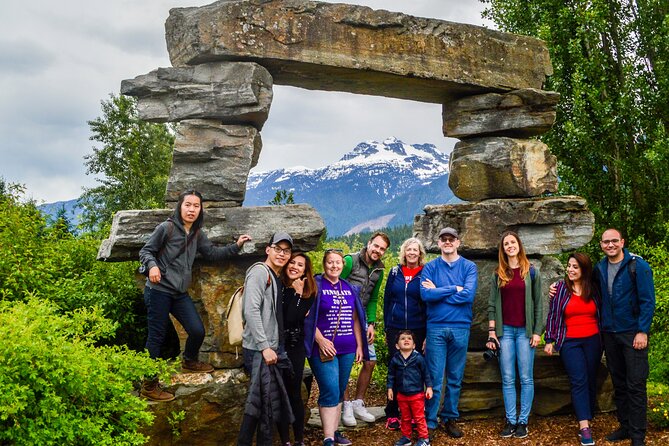
Day 2 centers on Maligne Canyon and a hike on Sulphur Skyline Trail. This is a strong combo for photographers because you get both a natural feature and a “move through the scene” hiking angle.
You also have a hot-springs option with Miette Hot Springs. Even if you are not a soak person, it is a smart recovery stop. A photo road trip punishes your hands, shoulders, and head. A warm break gives you energy back before the next big hiking day.
A practical takeaway from the way the guide plans these trips: the hike portion is not meant to exhaust you. It is meant to create photos you could not get from a viewpoint pull-off. If you are in reasonable shape, this kind of day tends to feel doable, especially with solid shoes.
Gear mindset for this day:
- Keep your setup light enough that you can move comfortably
- Layers are key, because canyon and hot springs weather can feel like two different worlds
Day 3 Athabasca Falls, Icefields, and Peyto Lake’s wide-angle moments
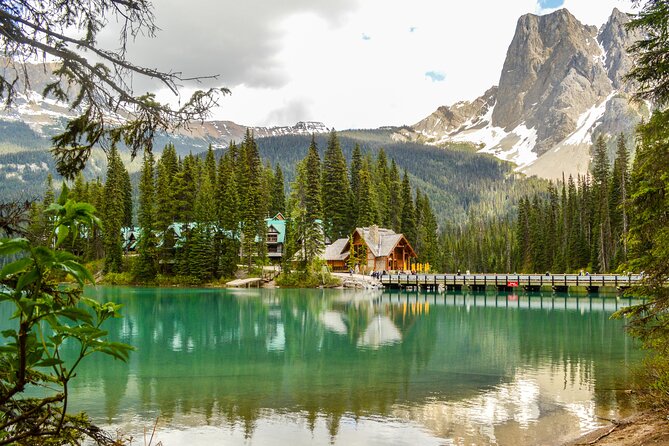
Day 3 is the day the itinerary leans big. You’ll spend time in Jasper town, visit Pyramid and Patricia Lakes, then move to Athabasca Falls and the Columbia Icefields, with Peyto Lake also on the list.
If you like variety, this day is your buffet. Lakes give you reflections and layered depth. Waterfalls add motion blur options. Icefields and glacier-adjacent viewpoints create that crisp, dramatic background that makes foreground subjects look sharp.
The trade-off is time management. You will be moving through multiple iconic locations. That means you need to decide early what you want to prioritize:
- Wide scenic shots
- Detailed nature textures like water and rock
- Wildlife moments, if they appear
One thing that makes this trip worth it for photographers is the guidance on composition and settings. With coaching for smartphone and DSLR, you are not guessing every time the light changes or every time clouds roll in.
If you are the type who always wants “one perfect photo,” build a plan for yourself. Shoot a few frames quickly at each stop, then slow down when the light improves. That keeps you from missing the good moment while chasing perfection.
Day 4 Lake Louise, Moraine Lake, and the Plain of Six Glaciers trail
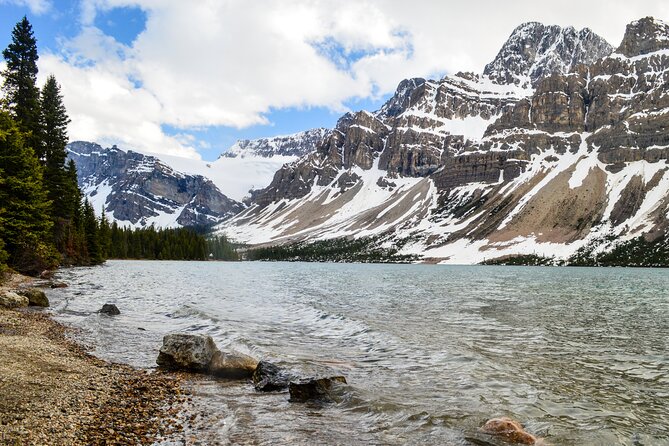
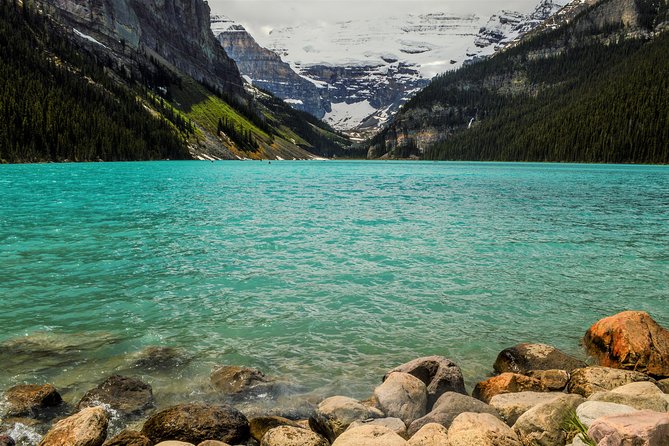
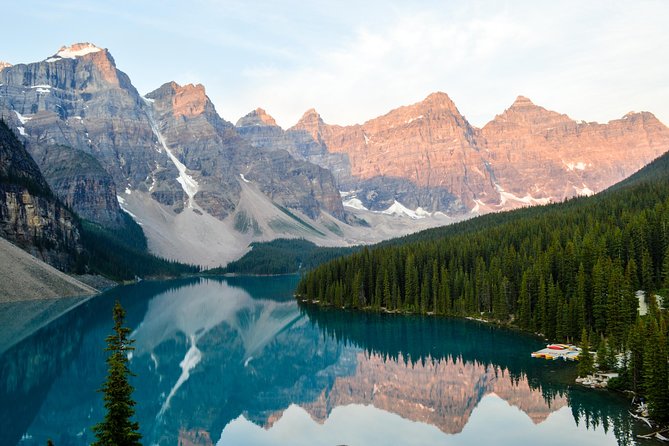
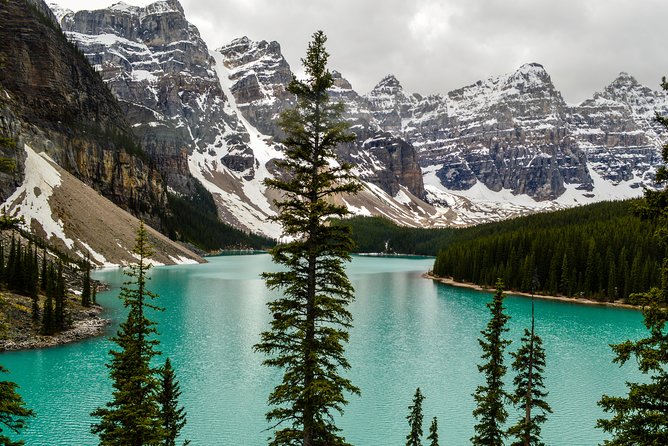
Day 4 hits two of the most photographed areas in the Canadian Rockies: Lake Louise and Moraine Lake, plus the Plain of Six Glaciers and Teahouse hike.
This is where timing becomes everything. These places can look incredible, but your photos improve when you can get the light and viewpoint you want. That’s also where the guide’s stop planning helps, because it is not just about getting there, it’s about getting there when the scene is most camera-friendly.
What I like about this day is that the hike gives you a change of perspective. A big lake can become a postcard picture, but a trail turns it into a story: foreground, leading lines, and textures that make your photo feel real.
A practical tip from the trip experience: bring snacks for the Lake Louise and Moraine Lake time. With a hike and multiple scenic stops, you do not want to lose photo momentum because you are hungry or scrambling for food.
Also, expect changing conditions on the trail. Layers are your friend, and rain happens. If you end up with mist or drizzle, having something to wipe your camera lens or smartphone screen can save your shots.
Day 5 Emerald Lake and Natural Bridge, the short finale that still counts
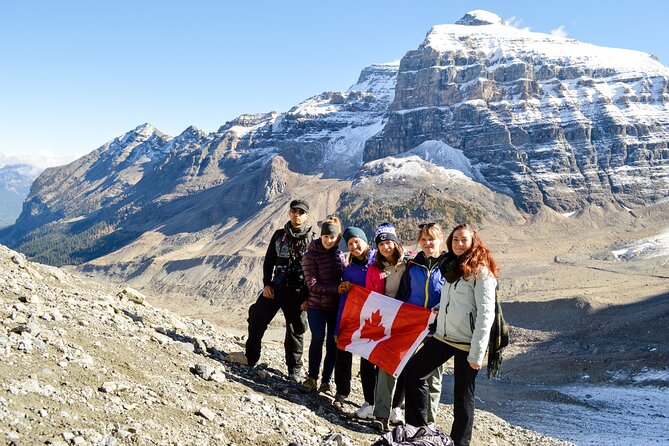
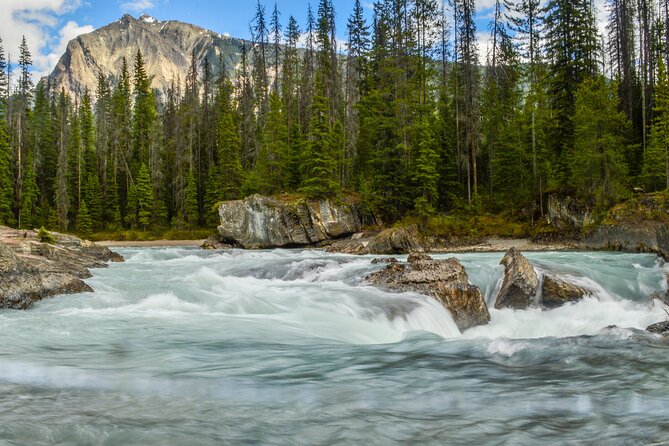
Day 5 focuses on Emerald Lake in Yoho National Park, with a stop at Natural Bridge. The itinerary lists this day as about 1 hour at the stop area, so you should think of it as a lighter send-off rather than another all-day trek.
A shorter finale can actually be a good thing. By the end of a multi-park week, your body is tired and your gear feels heavier. A quick day lets you enjoy the scenery without fighting exhaustion.
What to do with the time you have:
- Move with purpose at Emerald Lake so you catch the reflections and textures
- Shoot from more than one viewpoint quickly
- Use Natural Bridge for a different type of composition, since it is a more architectural natural feature
If weather is good, you’ll likely feel grateful for the lighter pace.
The photography coaching you can use immediately, smartphone to DSLR
One of the most praised parts of this experience is the photo help. The guide, Nafees (also referenced as Nash in feedback), shares tips that work in the real world, not just in theory.
What that looks like in practice:
- Help for both smartphone and DSLR settings
- Guidance on composition so your images look intentional
- Advice on how to handle changing light and weather
This kind of coaching is useful because it reduces the guessing. If you have ever taken ten photos and hated all ten because the settings were wrong, you know the frustration. Here, you get support so you can fix your approach while you are still at the scene.
You’ll also get help on staying flexible. Weather changes quickly in the Rockies, and the guide adjusts where you stand and when you shoot. That flexibility is part of the value. It means you are not stuck hoping the sky behaves.
Camping and hiking style: doable days, clear safety mindset
The tour includes a professionally led hiking and camping experience. Camping is part of the deal, and that’s important for your expectations. This is not a hotel-based sightseeing trip.
The hiking is described as not too demanding for people in reasonable shape. Still, you should not treat that as “easy.” Slips and fatigue happen when you carry camera gear. The advice that keeps popping up is practical:
- Wear comfortable, broken-in shoes with traction
- Dress in layers
- Keep camera equipment light and compact
Safety also comes up. The overall tone from feedback is that the guide is thoughtful and careful about group wellbeing. If you are traveling on your own, that matters because you want to feel confident about where to be, when to move, and how the day runs.
What to pack so the trip stays fun, not fussy
Photo road trips are gear-heavy, but you can make life easier with the right basics. Here’s what you’ll want based on the way the experience actually plays out.
Bring:
- Traction shoes that have already been worn a lot
- Layers for cold mornings, warm afternoons, and sudden rain
- A way to keep your camera setup light and compact
- A cloth to wipe your camera lens or smartphone screen
- Snacks for Lake Louise and Moraine Lake times
If you’re bringing a DSLR, pack like a photographer and a hiker at the same time. The best shots happen when you can move, breathe, and concentrate. If you bring a setup that feels like you’re hauling a suitcase, you will notice.
Who should book this trip, and who might not love it
You should consider booking if:
- You want to improve your photos, not just take them
- You like structured photography stops and want guidance for smartphone and DSLR
- You are comfortable with a mix of driving and short hikes
- You can handle weather swings and prefer flexible travel days
You might want a different style of trip if:
- You only want hotel comfort and meals included
- You dislike weather-dependent plans, even when alternatives are offered
- You are hoping for a purely relaxed sightseeing pace with minimal hiking
This tour fits well for solo people who want company and photo help without feeling like a big tour group experience.
Should you book Photography & Rockies Road Trip with Nature PhotoHikes?
If your goal is to come home with better photos and a smarter understanding of how to shoot in mountain light, this is a strong match. The combination of small group size, photo coaching, and major Rockies stops is the core of the value.
I also think the trip is worth it when you can be flexible. Weather can shift plans, but that flexibility is built into the experience, and it protects the quality of what you get to shoot. The small hikes, hot springs break, and short finale on Day 5 keep you from feeling trapped in nonstop driving.
If you prefer unguided freedom or you do not care about camera settings, you might feel like you are paying for help you will not use. But if you want a guide who pays attention to both scenery and technique, you’ll likely appreciate the way the day is managed.
FAQ
How long is the Photography & Rockies Road Trip?
It’s listed as approximately 5 days.
What time does the tour start?
The start time is 8:00 am.
Is pickup available from Vancouver?
Yes. Pickup is offered, and you meet at a prearranged Vancouver location of your choice.
What group size should I expect?
The tour has a maximum of 5 travelers per group, with a minimum of 2 people per booking.
What languages is the tour offered in?
The tour is offered in English.
What is included in the price?
Included items are the driver/guide, national park fees, a professional photographer guide, a professionally led hiking and camping experience, and transportation.
What is not included?
Not included are activities like canoe rentals or gondola tickets, food and drinks, and upgrades in accommodation to a hotel or hostel.
What if weather is bad?
The experience requires good weather. If it’s canceled due to poor weather, you’ll be offered a different date or a full refund.
Recently listed around Vancouver
- Vancouver Top Attraction Highlights Tour Private With Capilano★ 4.5 · 3 reviews
- Private Transfer From Vancouver Airport to Vancouver Downtown★ 5.0 · 7 reviews
- Vancouver to Whistler – Private Transfer – One Way★ 5.0 · 4 reviews
- Whistler Sea 2 Sky Gondola, Shannon Falls Small Group Max 12 Tour★ 5.0 · 6 reviews
- YVR Layover – Vancouver City Sightseeing Private Tour★ 5.0 · 7 reviews
- Wild Whale Watching Experience – Open Air Vessel★ 5.0 · 158 reviews
- Whistler: Sea to Sky Gondola Shannon and Brandywine Falls Tour★ 5.0 · 16 reviews
- Whistler 1-Day Tour from Vancouver (Chn&Eng)★ 4.0 · 6 reviews
Photography Sessions, compared.
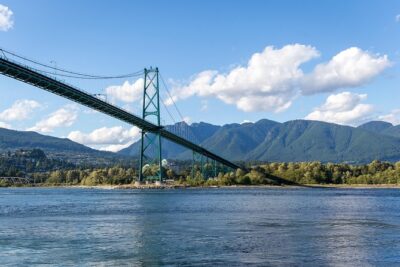
Vancouver Half-Day Whale Watching Adventure with Free Photos
Read our review →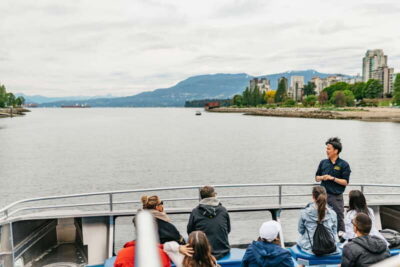
Covered Whale Watching Adventure with Free Photos
Read our review →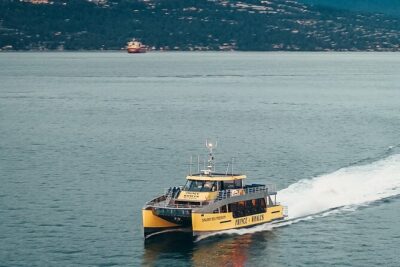
Victoria Half-Day Whale Watching Adventure with Free Photos
Read our review →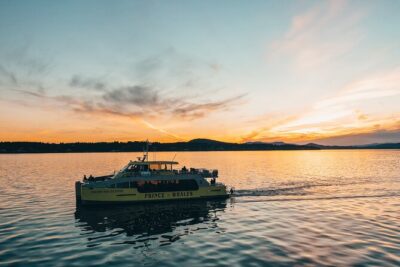
Vancouver Sunset Whale Watching Adventure with Free Photos
Read our review →
Covered Whale Watching Adventure with Free Photos
Read our review →
Telegraph Cove: Whale Watching Adventure with Free Photos
Read our review →
Browse the lists this tour appears in